Photoshop CS2 workout
8th March 2007
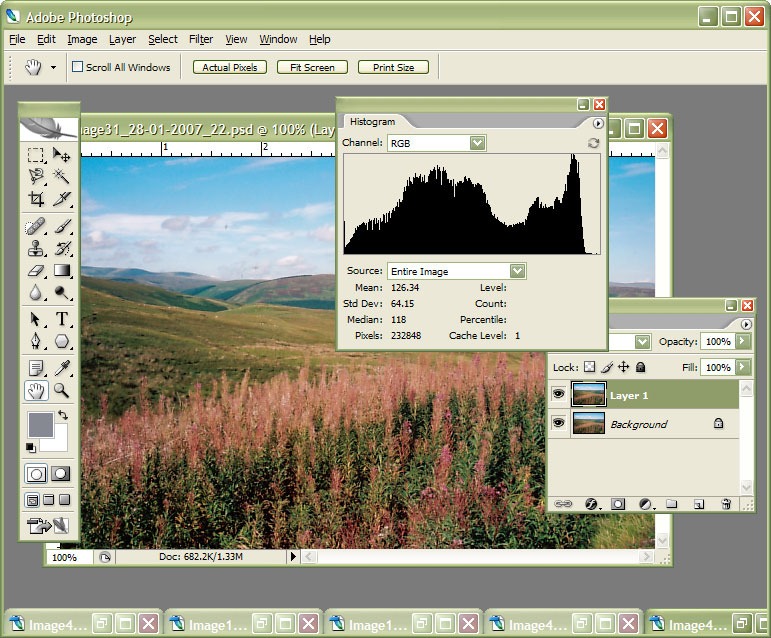
I am in the process of adding new photos to my online photo gallery at the moment and the exercise is giving my Photoshop CS2 trial version a good amount of use. And the experience also adding a few strings to my bow in graphics editing terms, something that is being helped along by the useful volume that is The Focal Easy Guide to Photoshop CS2.
The most significant change that has happened is that to my workflow. Previously, it took the following form:
- Acquire image from scanner/camera
- For a camera image, do some exposure compensation
- Create copy of image in software’s own native file format (PSPIMAGE/PSP for Paint Shop Pro and PSD/PSB for Photoshop)
- Clean up image with clone stamp tool: removes scanner artefacts or sensor dust from camera images; I really must get my EOS 10D cleaned (the forecast for the coming weekend is hardly brilliant to I might try sending it away).
- Save a new version of the image following clean-up.
- Reduce the size of the digital camera image to 600×400 and create a new file.
- Boost colours of original image with hue/saturation/lightness control; save new version of file.
- Sharpen the image and save another version.
- For web images, save a new file with a descriptive name
- Create JPEG version
- Copy JPEG to Apache web server folders
- Create thumbnail from original JPEG
The new workflow is based upon this:
- Acquire image from scanner/camera
- For a camera image, do some exposure compensation; there is a lot of pre-processing that you can do in Camera Raw
- Create copy of image in software’s own native file format
- Clean up the image with the clone stamp tool and create a new file with _cleaned as its filename suffix. I tried the spot healing brush but didn’t seem to have that much success with it. Maybe I need to try again…
- Add adjustment layer for level correction and save file with _level suffix in its name.
- Add adjustment layer for curves correction
- Add adjustment layer for boosting colours with hue/saturation/lightness control
- Flatten layers and save new image with _flatten suffix in its name
- Sharpen flattened image and create a new version with _sharpened suffix in its name
- For web images, save a new file with a descriptive name
- Create JPEG versions in Apache web server folders; carry out any resizing using bi-cubic sharpening at this point.
Some improvements remain. For instance, separation of raw, intermediate and final photos by storing them in different directories is perhaps one possibility that I should consider. But there are other editing tricks that I have yet to use as well: merged and blended layers. Bi-cubic smoothing for expanding images is another possibility but it is one that requires a certain amount of caution. And I am certain that I will encounter others as I make my way through my reading.